Model Views (Quick How to)
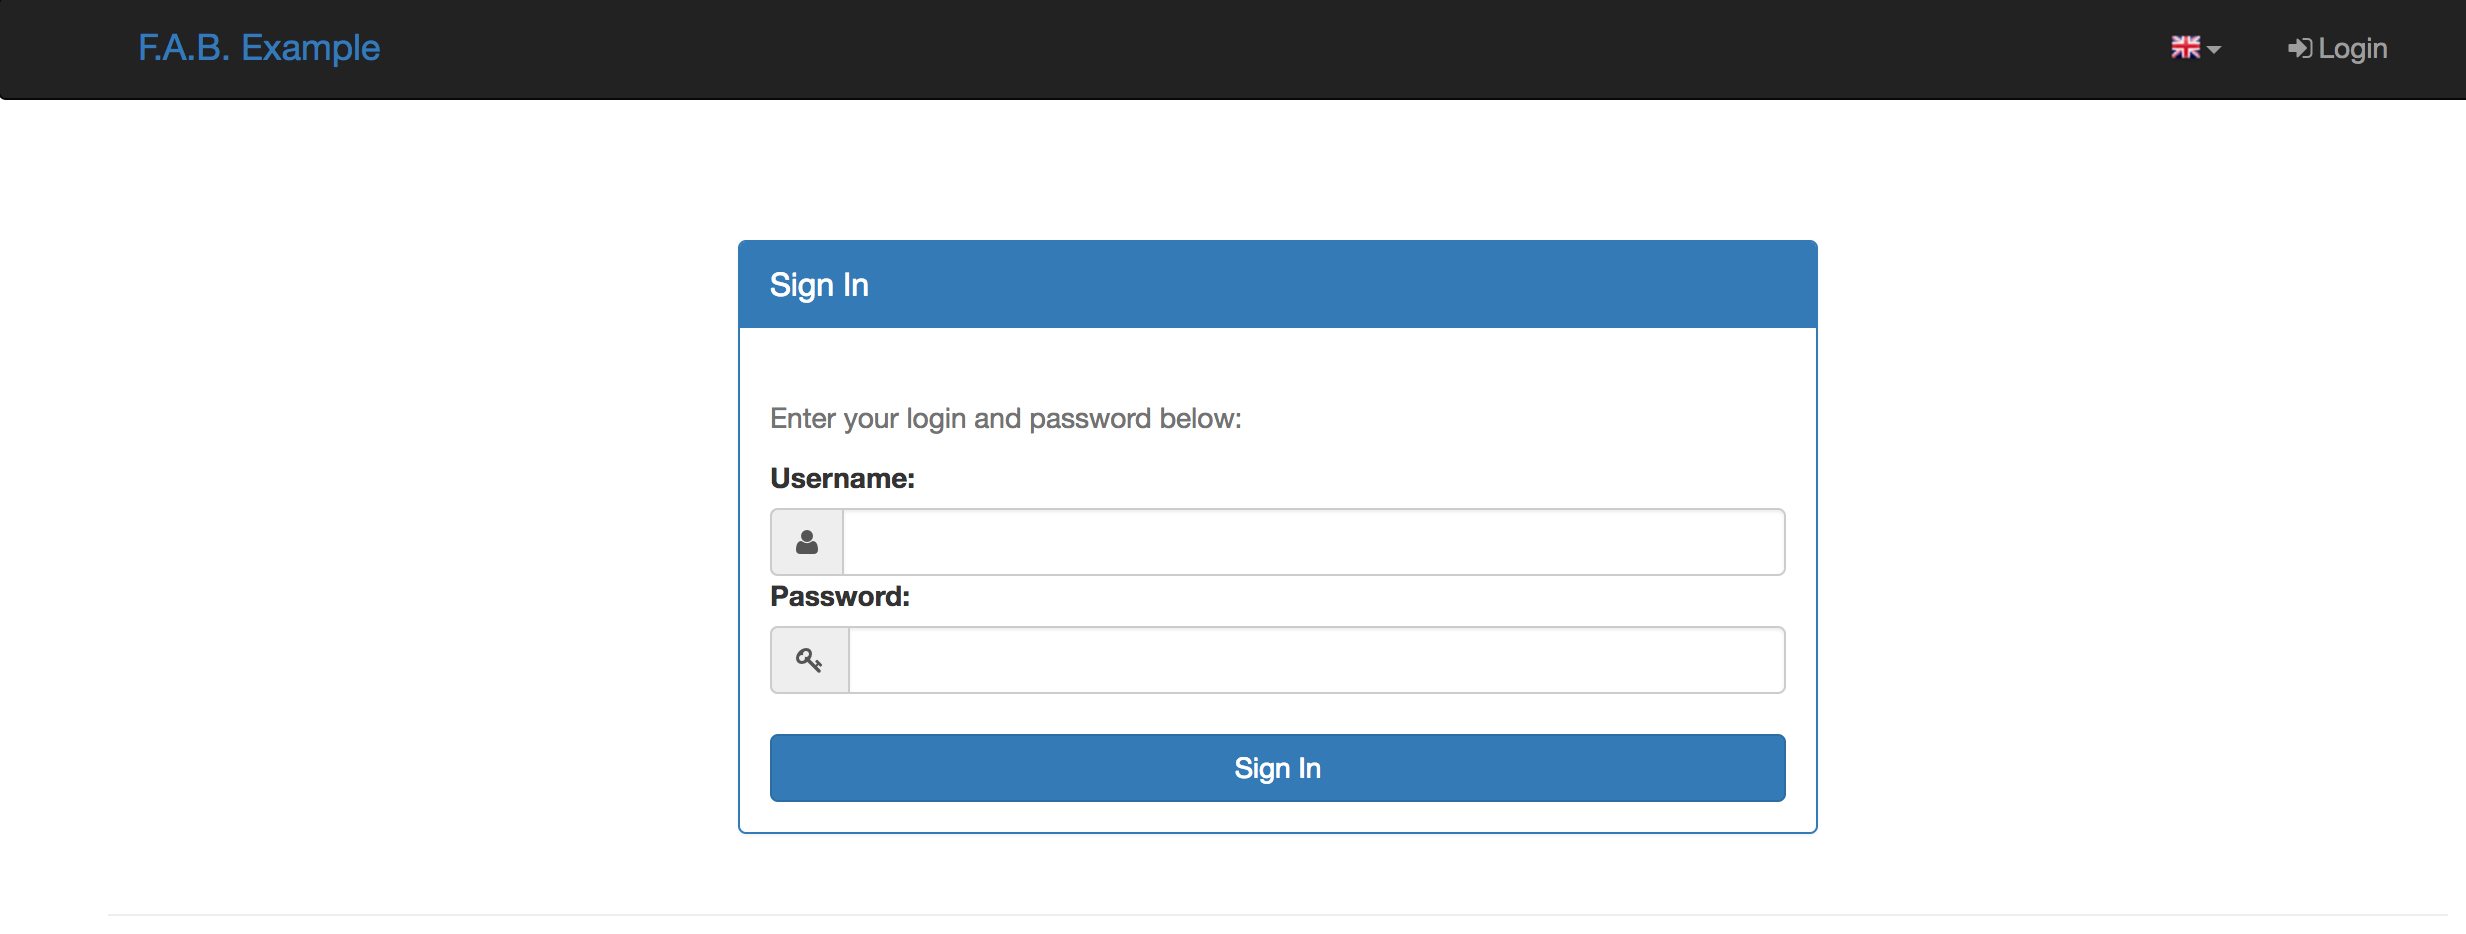
On this chapter we will create a very simple contacts application you can try a Live Demo (login with guest/welcome).
And the source code for this chapter on examples
The Base Skeleton Application
If you’re working with the base skeleton application (take a look at the Installation chapter).
you now have the following directory structure:
<your project name>/
    config.py : All the application's configuration
    app/
        __init__.py : Application's initialization
        models.py : Declare your database models here
        views.py  : Implement your views here
It’s very easy and fast to create an application out of the box, with detailed security.
Please take a look at github examples
Simple contacts application
Let’s create a very simple contacts application. F.A.B uses the excellent SQLAlchemy ORM package, and its Flask extension. you should be familiar with its declarative syntax to define your database models on F.A.B.
Note
Since 1.3.0 there is partial support for MongoDB using MongoEngine. You can declare any normalized database schema, just like on SQLAlchemy, and use ModelView and CharView’s exactly the same way. Next releases will gradually support non normalized schemas for MongoDB.
On our example application we are going to define two tables, a Contacts table that will hold the contact’s detailed information, and a ContactGroup table to group our contacts or classify them. We could additionally define a Gender table, to serve the role of enumerated values for ‘Male’ and ‘Female’.
Although you’re not obliged to, I advise you to inherit your model classes from Model class. Model class is exactly the same as Flask-SQLALchemy db.Model but without the underlying connection. You can of course inherit from db.Model normal Flask-SQLAlchemy. The reason for this is that Model is on the same declarative space of F.A.B. and using it will allow you to define relations to Users.
You can add automatic Audit triggered columns to your models, by inheriting them from AuditMixin also. (see API Reference)
So, first we are going to create a ContactGroup model, to group our contacts
Define your models (models.py)
The ContactGroup model.
from sqlalchemy import Column, Integer, String, ForeignKey, Date
from sqlalchemy.orm import relationship
from flask_appbuilder import Model

class ContactGroup(Model):
    id = Column(Integer, primary_key=True)
    name = Column(String(50), unique = True, nullable=False)

    def __repr__(self):
        return self.name
The Contacts table.
class Contact(Model):
    id = Column(Integer, primary_key=True)
    name =  Column(String(150), unique = True, nullable=False)
    address =  Column(String(564), default='Street ')
    birthday = Column(Date)
    personal_phone = Column(String(20))
    personal_cellphone = Column(String(20))
    contact_group_id = Column(Integer, ForeignKey('contact_group.id'))
    contact_group = relationship("ContactGroup")

    def __repr__(self):
        return self.name
Notice that SqlAlchemy properties used here like ‘unique’, ‘nullable’ and ‘default’, will have special treatment. In this case when adding a new Contact a query will be made to validate if someone with the same name already exists. Contacts with empty names will not be allowed. Column types are validated. The address field will contain ‘Street ‘ as the default. You can add your own custom validations too, take a look at Advanced Configuration
Define your Views (views.py)
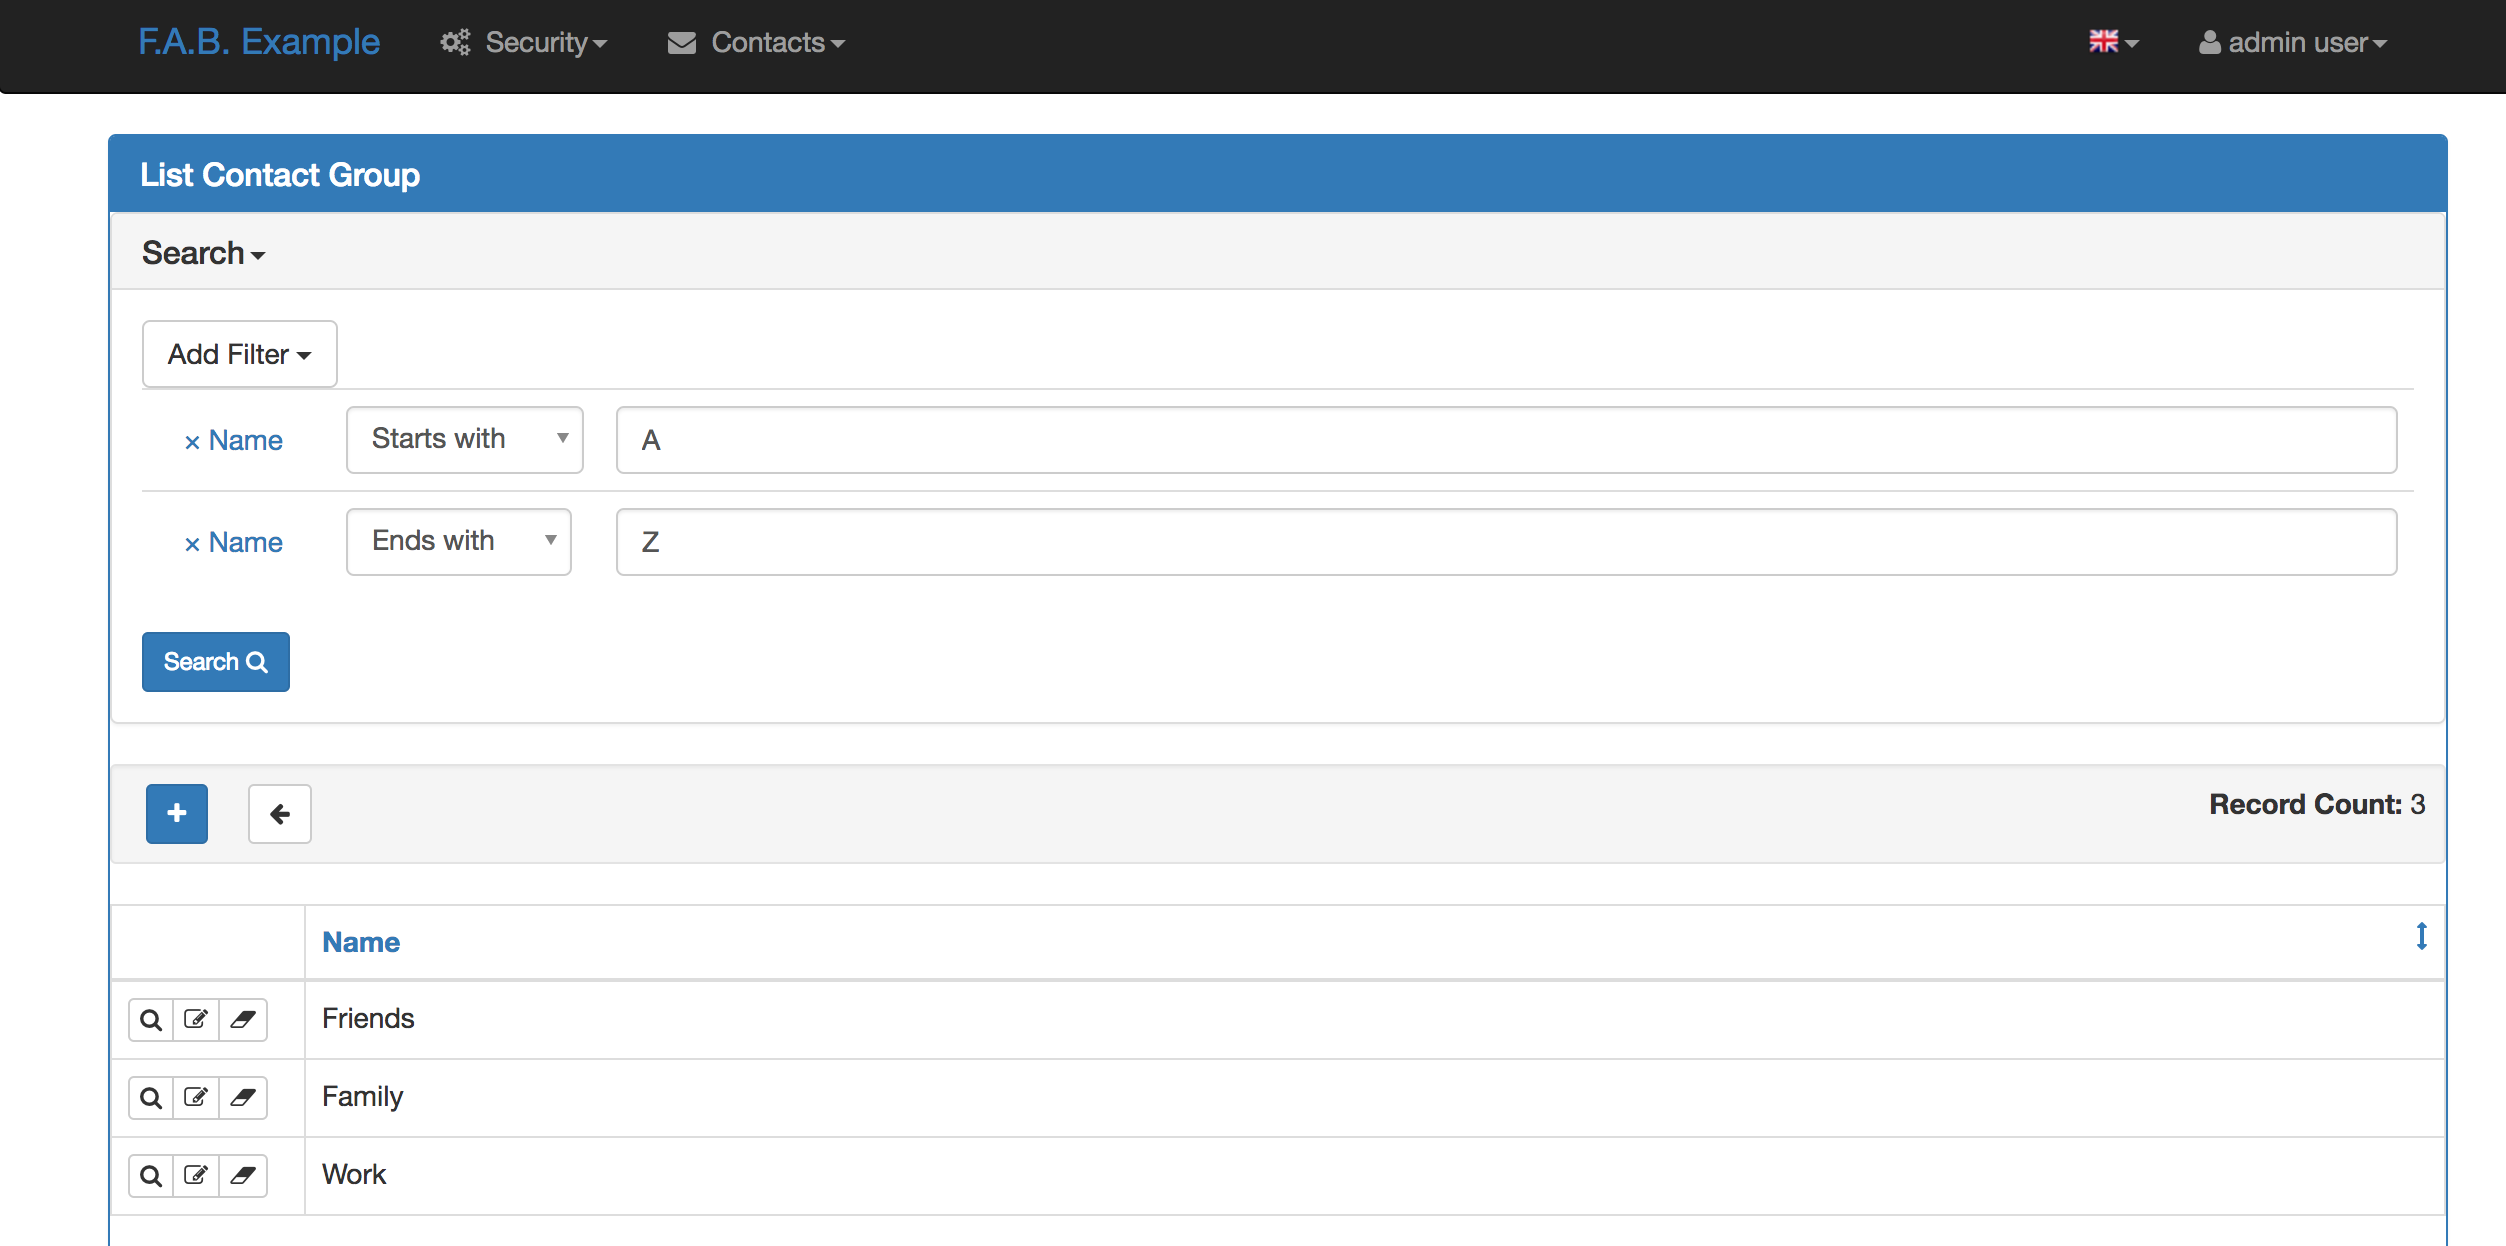
Now we are going to define our view for ContactGroup model. This view will setup functionality for create, remove, update and show primitives for your model’s definition.
We inherit from the ModelView class, which inherits from BaseCRUDView, which itself inherits from BaseModelView, so you can override all their public properties to configure many details for your CRUD primitives. Take a look at Advanced Configuration.
from flask_appbuilder import ModelView
from flask_appbuilder.models.sqla.interface import SQLAInterface

class GroupModelView(ModelView):
    datamodel = SQLAInterface(ContactGroup)
    related_views = [ContactModelView]
I hope this was easy enough! Some questions may arise…
Required properties:
- datamodel
is the db abstraction layer. Initialize it with your view’s model.
Optional properties:
- related_views
if you want a master/detail view on the show and edit. F.A.B. will relate 1/N relations automatically, it will display a show or edit view with tab (or accordion) with a list related record. You can relate charts also.
This is the most basic configuration (with an added related view).
But where is ContactModelView ? (that was a reference in related_views list)
Let’s define it:
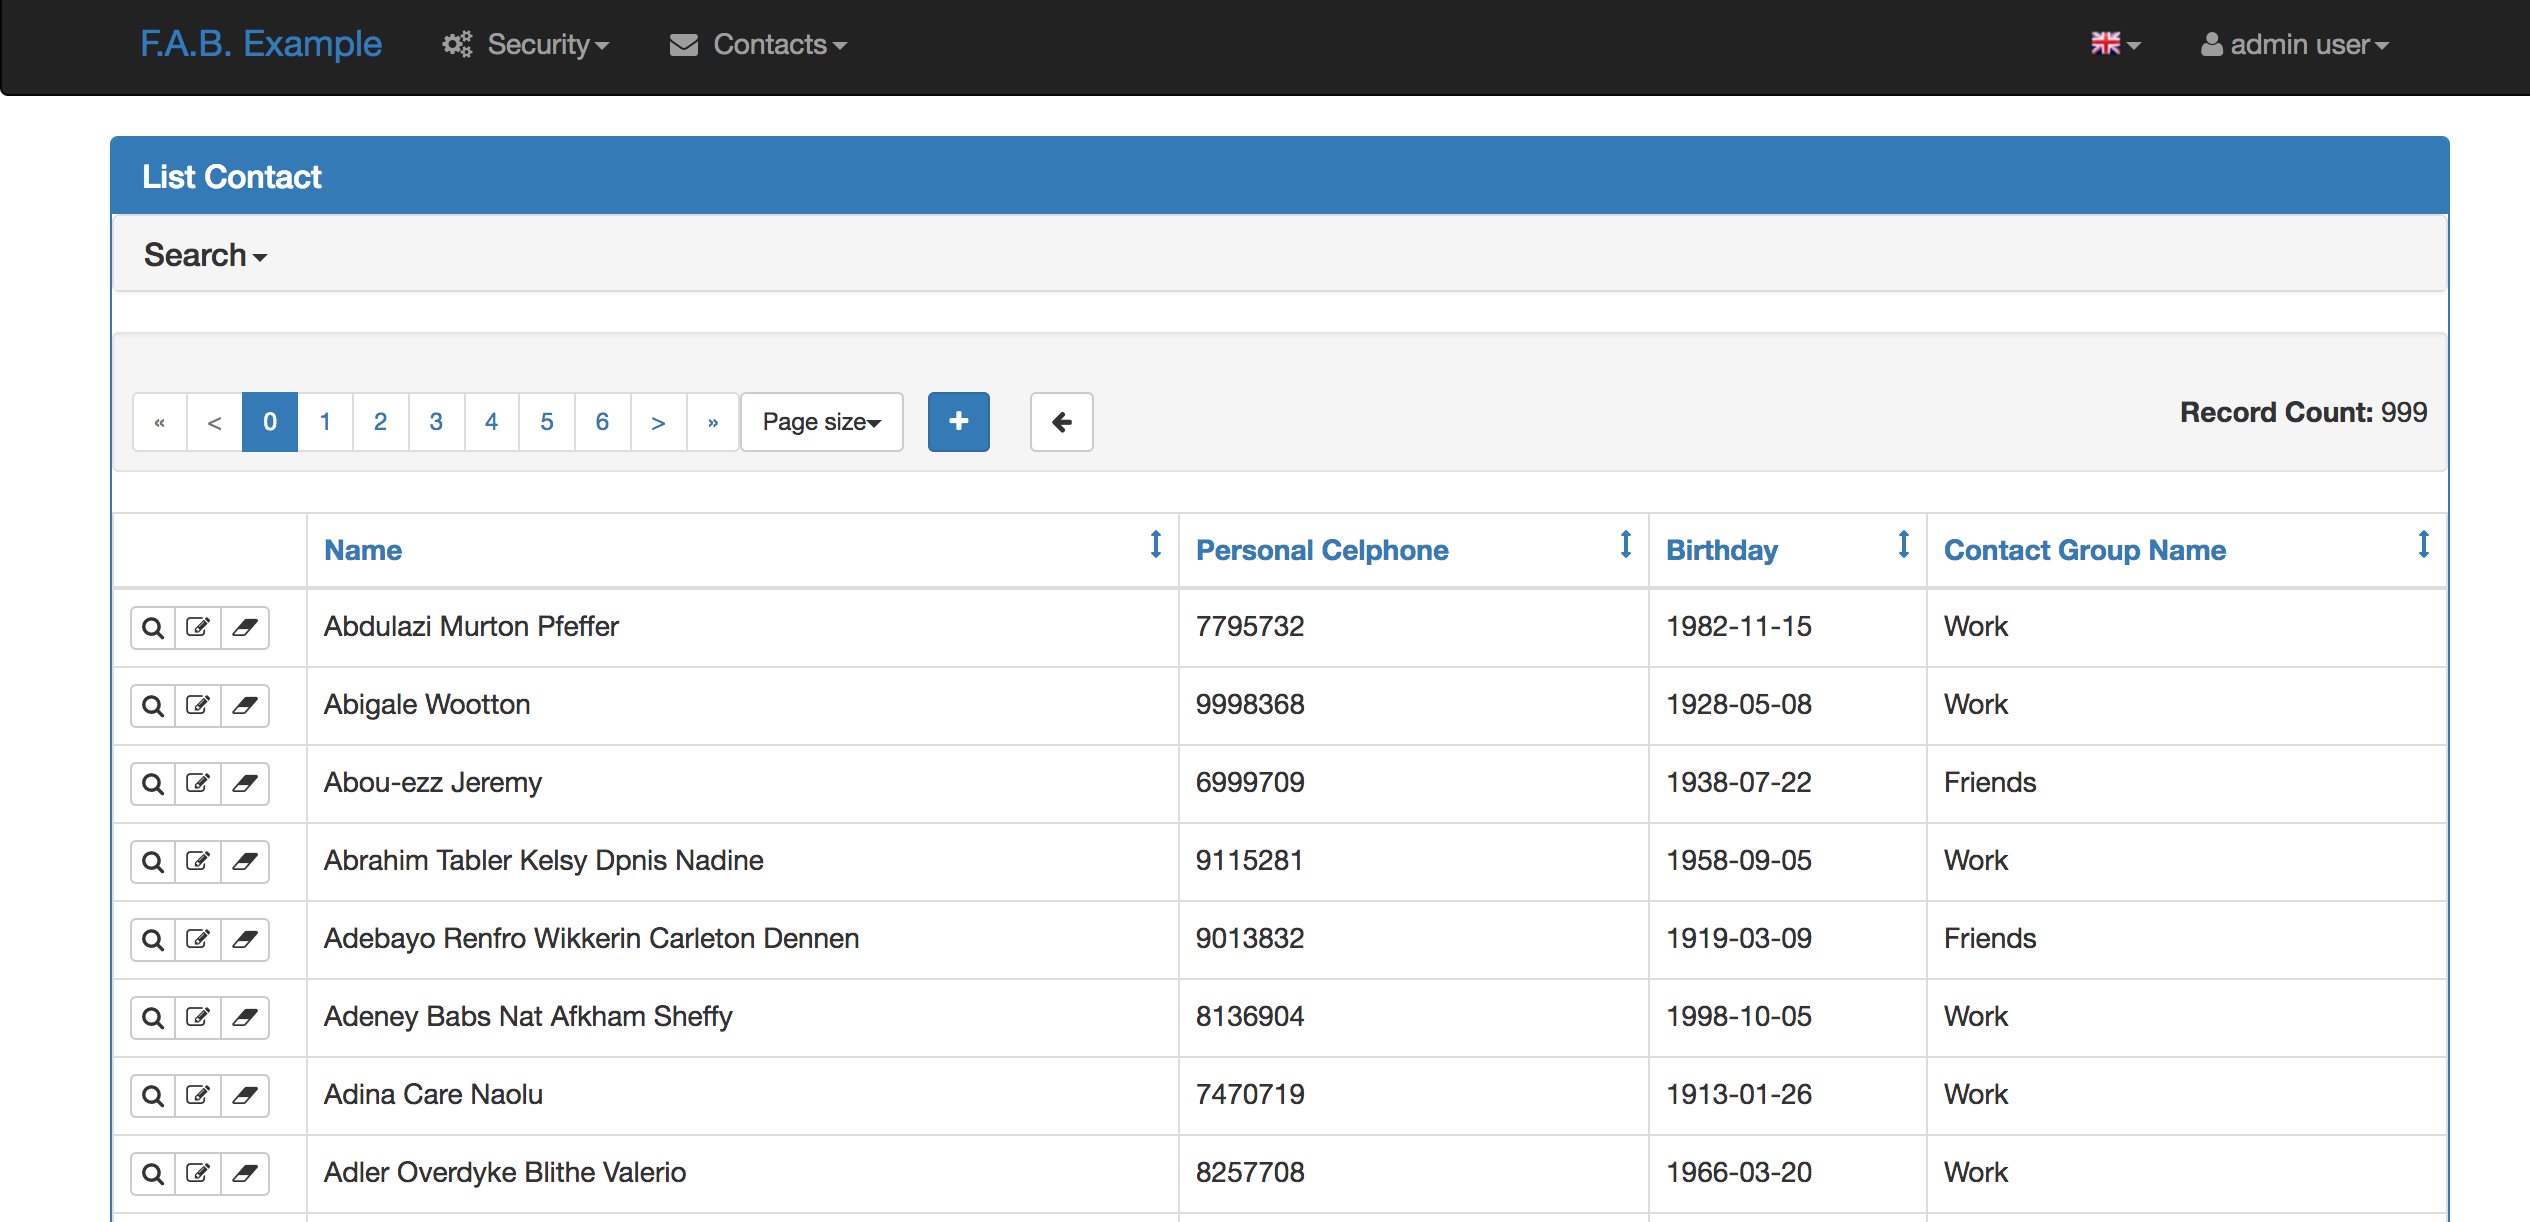
class ContactModelView(ModelView):
    datamodel = SQLAInterface(Contact)

    label_columns = {'contact_group':'Contacts Group'}
    list_columns = ['name','personal_cellphone','birthday','contact_group']

    show_fieldsets = [
        (
            'Summary',
            {'fields': ['name', 'address', 'contact_group']}
        ),
        (
            'Personal Info',
            {'fields': ['birthday', 'personal_phone', 'personal_cellphone'], 'expanded': False}
        ),
    ]
Some explanation:
- label_columns
defines the labels for your columns. The framework will define the missing ones for you, with a pretty version of your column names.
- show_fieldsets
A fieldset (Django style). You can use show_fieldsets, add_fieldsets, edit_fieldsets customize the show, add and edit views independently.
Additionally, you can customize which columns are displayed and their order on lists and forms. Remember you can include columns, relations or methods from a model’s definition. If you have a long list of columns and want to exclude just a few from add/edit/show form you can use the exclude columns property:
- class flask_appbuilder.baseviews.BaseCRUDView(**kwargs)[source]
The base class for ModelView, all properties are inherited Customize ModelView overriding this properties
- add_columns = None
A list of columns (or model’s methods) to be displayed on the add form view. Use it to control the order of the display
- add_exclude_columns = None
A list of columns to exclude from the add form. By default all columns are included.
- edit_columns = None
A list of columns (or model’s methods) to be displayed on the edit form view. Use it to control the order of the display
- edit_exclude_columns = None
- A list of columns to exclude from the edit form.
By default all columns are included.
- list_columns = None
A list of columns (or model’s methods) to be displayed on the list view. Use it to control the order of the display
- show_columns = None
A list of columns (or model’s methods) to be displayed on the show view. Use it to control the order of the display
- show_exclude_columns = None
A list of columns to exclude from the show view. By default all columns are included.
You can also control which columns will be included on search, use the same logic for this:
- class flask_appbuilder.baseviews.BaseModelView(**kwargs)[source]
The base class of ModelView and ChartView, all properties are inherited Customize ModelView and ChartView overriding this properties
This class supports all the basics for query
- search_columns = None
List with allowed search columns, if not provided all possible search columns will be used If you want to limit the search (filter) columns possibilities, define it with a list of column names from your model:
class MyView(ModelView):
    datamodel = SQLAInterface(MyTable)
    search_columns = ['name','address']
- search_exclude_columns = None
List with columns to exclude from search. Search includes all possible columns by default
You can easily use builtin alternative look, using widgets take a look at the widgets example.
Note
Fields that reference relationships, will display the defined related model representation (on this case __repr__() methods on ContactGroup Model), so by default these fields can’t be ordered. To enable order by on a list for relationship fields, you can (since 1.1.1) reference them using dotted notation. On this example you can reference them using ‘contact_group.name’.
Register (views.py)
Register everything, to present the models and create the menu. Issue create_all to create your models also.:
db.create_all()
appbuilder.add_view(
    GroupModelView,
    "List Groups",
    icon = "fa-folder-open-o",
    category = "Contacts",
    category_icon = "fa-envelope"
)
appbuilder.add_view(
    ContactModelView,
    "List Contacts",
    icon = "fa-envelope",
    category = "Contacts"
)
Take a look at the API Reference for add_view method.
Security
FAB will create all possible permissions and add them to the AUTH_ROLE_ADMIN config key
that defaults to Admin. you can completely override the default inferred permissions
and reduce the level of granularity, for mode detail about this read the Security chapter.
Example and Live Demo
You can find this example at: https://github.com/dpgaspar/Flask-AppBuilder/tree/master/examples/quickhowto
Live quickhowto Demo (login with guest/welcome).
Note
The icons for the menu on this example are from font-awesome, Checkout fontAwesome Icons names. Font-Awesome is already included and you can use any icon you like on menus and actions
With this very few lines of code (and could be fewer), you now have a web application with detailed security for each CRUD primitives and Menu options, authentication, and form field validation. Yet you can extensively change many details, add your own triggers before or after CRUD primitives, develop your own web views and integrate them.
Some images:
Exposed methods
Your ModelView classes expose the following methods as flask endpoints
list
show
add
edit
delete
download
action
API methods
This exposes a REST API (not completely strict). You also have an AJAX REST API. Each method has its own security permission, so you can control accesses at this level.
The API methods take the same arguments as list, show, add, edit and delete, but return JSON and HTTP return codes in case of success or errors. See the following table for a description of each method.
URL |
Description |
Permission Name |
HTTP |
|---|---|---|---|
/api |
Return the existing API URL’s |
can_list |
GET |
/api/read |
Queries models data, receives args as list |
can_list |
GET |
/api/column |
Returns results for related column |
can_list |
GET |
/api/create |
Receives a form as POST and creates record |
can_add |
POST |
/api/update |
Receives a form as PUT and updates record |
can_edit |
PUT |
/api/column/add/<COL NAME/ |
Returns values for a related field |
can_add |
GET |
/api/column/add/<COL NAME/ |
Returns values for a related field |
can_edit |
GET |
/api/readvalues |
Queries models data, ready to use on select2 combos |
can_list |
GET |
REST API
- note
This sort of automatic REST API is going to be deprecated, and will be completely removed in 2.3.X. Checkout the new API on REST API
URL=/api
The root of the API returns information about the available methods, like their URL’s using url_for from Flask. The users permissions on this view, labels etc…
Let’s take a close look at the returned JSON structure from this method. The returned object is a dictionary containing the following keys:
- api_urls
Dictionary with All builtin CRUD methods and their URL’s
- can_add
User’s permission on this view. Returns true or false.
- can_delete
User’s permission on this view. Returns true or false.
- can_edit
User’s permission on this view. Returns true or false.
- can_show
User’s permission on this view. Returns true or false.
- can_update
User’s permission on this view. Returns true or false.
- label_columns
Dictionary for label_columns exactly equal as the ModelView property
- list_columns
The columns to use when listing.
- modelview_name
The name of the ModelView class.
- modelview_urls
Dictionary with the UI’s URLS for Add, Edit and Show.
- order_columns
List with the columns allowed to do order by commands.
- page_size
The default page size.
- search_fields
Dictionary with column names as keys, and WTForm html fields as values.
- search_filters
Dictionary with column names as keys and a List with allowed operations for filters as values.
URL=/api/read
This is the read method of the API, will query your model with filter, ordering and paging operations.
Let’s take a close look at the returned JSON structure from this method. The returned object is a dictionary containing the following keys:
- count
Returns an Int with the total number of records.
- label_columns
Dictionary for label_columns exactly equal as the ModelView property
- list_columns
The columns to use when listing.
- modelview_name
The name of the ModelView class.
- order_columns
List with the columns allowed to do order by commands.
- page
Returns an Int, with the page on some page size where the result is located.
- page_size
Returns an Int with the current page size.
- pks
Returns a List with the results private keys.
- result
Returns a List with a dictionary for each record.
This method accepts as parameters the following:
- Set page size
_psize_<YOUR MODEL VIEW>=<PAGE SIZE>
- Set page
_page_<YOUR MODEL VIEW>=<PAGE>
- Order by column
_oc_<<YOUR MODEL VIEW>=<COLUMN NAME>
- Order by direction
_od_<<YOUR MODEL VIEW>=<asc|desc>
- Filters
_flt_<INDEX of the search operations for this column>_<COLUMN NANE>=<VALUE> example: _flt_0_name=A
URL=/api/delete/<PK>
Deletes a record from the model only accepts HTTP DELETE operations. if you want to delete a record with 8 as primary key issue an HTTP DELETE to the following URL: htpp://localhost:8080/contactmodelview/delete/8
It will return a dictionary that on case of success will have the following keys (returns HTTP 200):
{ “message”: “Deleted Row”, “severity”: “success” }
In case of error (returns HTTP 500):
{ “message”: “General Error <class ‘sqlalchemy.orm.exc.UnmappedInstanceError’>”, “severity”: “danger” }
Extra Views
F.A.B. as some extra views like ModelView but with different behaviours. You can radically change the way a ModelView looks like using various approaches like changing CRUD templates or widgets, CSS, inserting or injecting your own HTML etc, take a look at Templates, Advanced Configuration, Customizing.
Yet the framework brings 3 extra subclasses from BaseCRUDView (ModelView is a subclass of BaseCRUDView, this means that it implements complete CRUD based on models as well as JSON exposure). This views implement alternative CRUD GUI.
For rendering multiple views (subclasses of BaseModelView) on the same page use MultipleView. Using our previous example you could render the Group list and Contact list on the same page, to do it add the following view after the definition of GroupModelView and ContactModelView:
First remember to import:
from flask_appbuilder import MultipleView
Then define your View:
class MultipleViewsExp(MultipleView):
    views = [GroupModelView, ContactModelView]
Then register the view with a menu:
appbuilder.add_view(
    MultipleViewsExp,
    "Multiple Views",
    icon="fa-envelope",
    category="Contacts"
)
You can render as many views on the same page as you want, this includes Chart type views also, take a look at Chart Views to learn about Chart views.
Another interesting alternative view is the MasterDetailView as the name implies it implements a master detail GUI, it will render a menu version of a chosen model and then relate with a previous defined BaseModelView subclass of you choice. Again using the Contact application example:
class GroupMasterView(MasterDetailView):
    datamodel = SQLAInterface(ContactGroup)
    related_views = [ContactModelView]
The datamodel is the master and the related_views property are the views to be filtered by the user’s selection of the group. You can define as many detail views as you like and again you can even include Chart type views (they are subclasses of BaseModelView), remember there must be a model relation between the master and the details, and again the framework will figure out how to relate them by inspecting the backend defined relationships.